Template · Working reference · Noord
Environment and merchandise
Photo mockups for signage, outdoor advertising, clothing and merchandise.
Download this method as MarkdownWhat it is for
A logo that looks right on a screen can disappear on a door or become enormous on a shirt. These mockups let you look at the identity in a place, at something closer to the scale someone will encounter it.
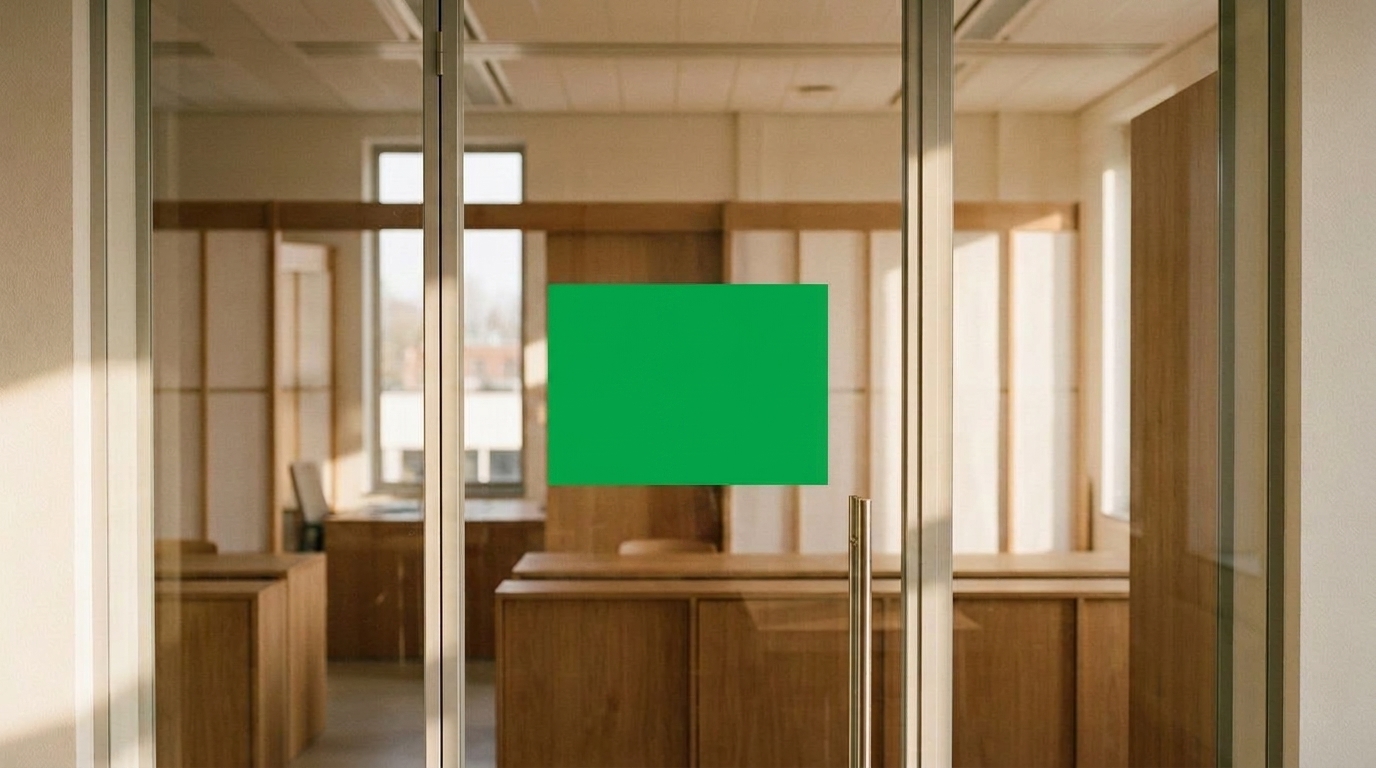
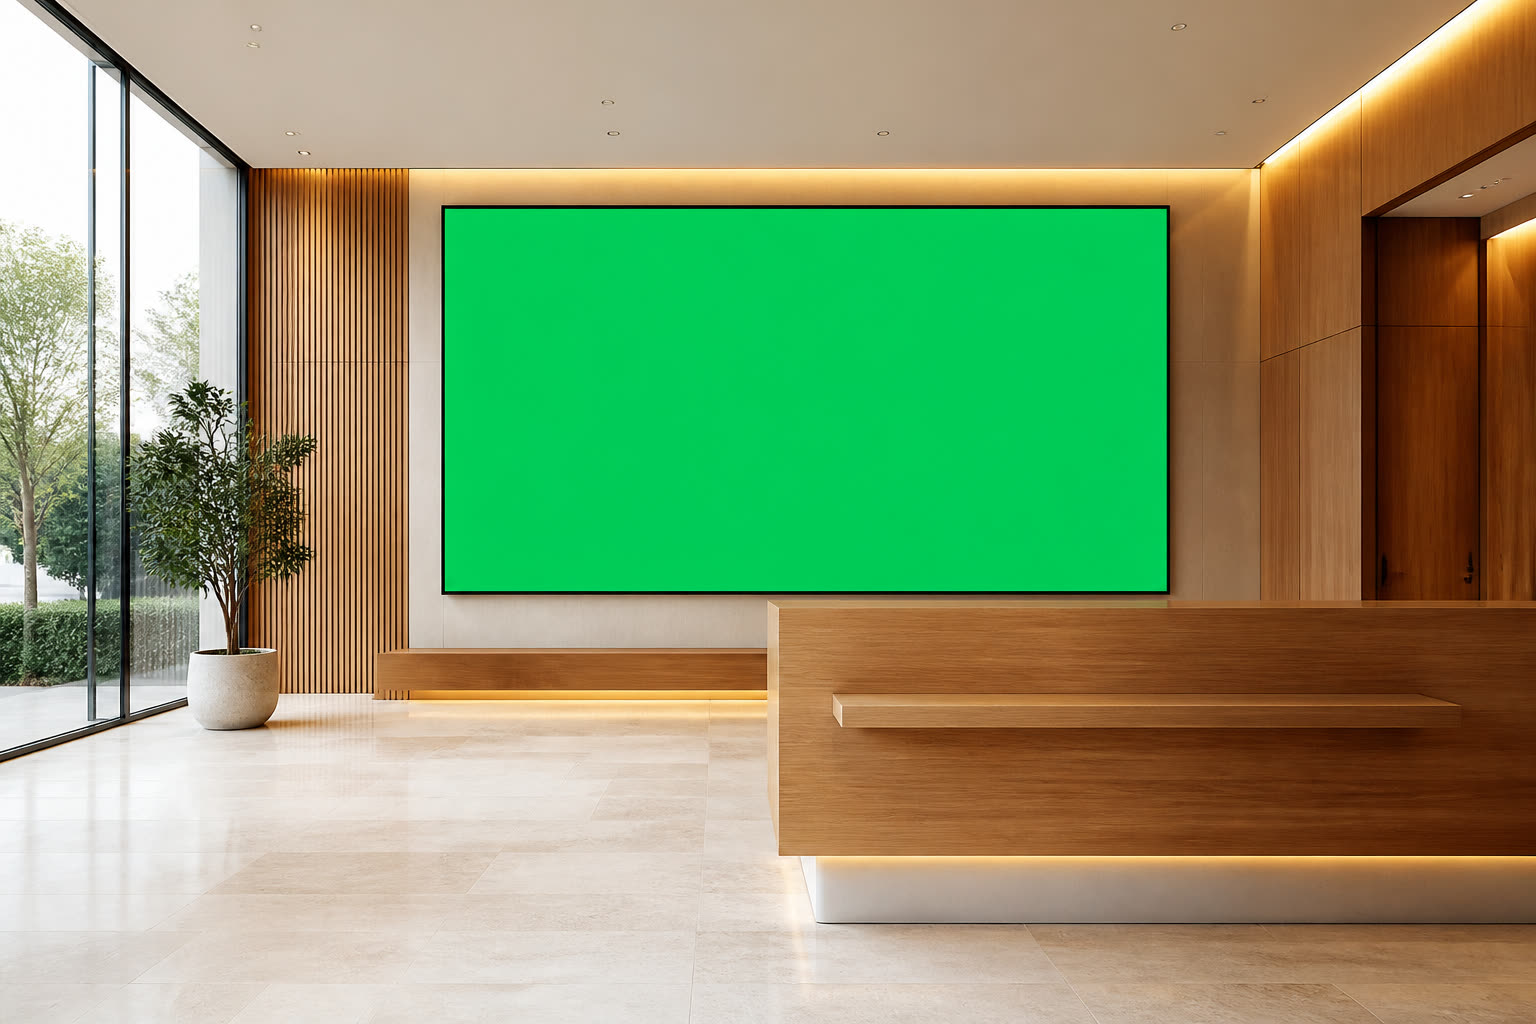
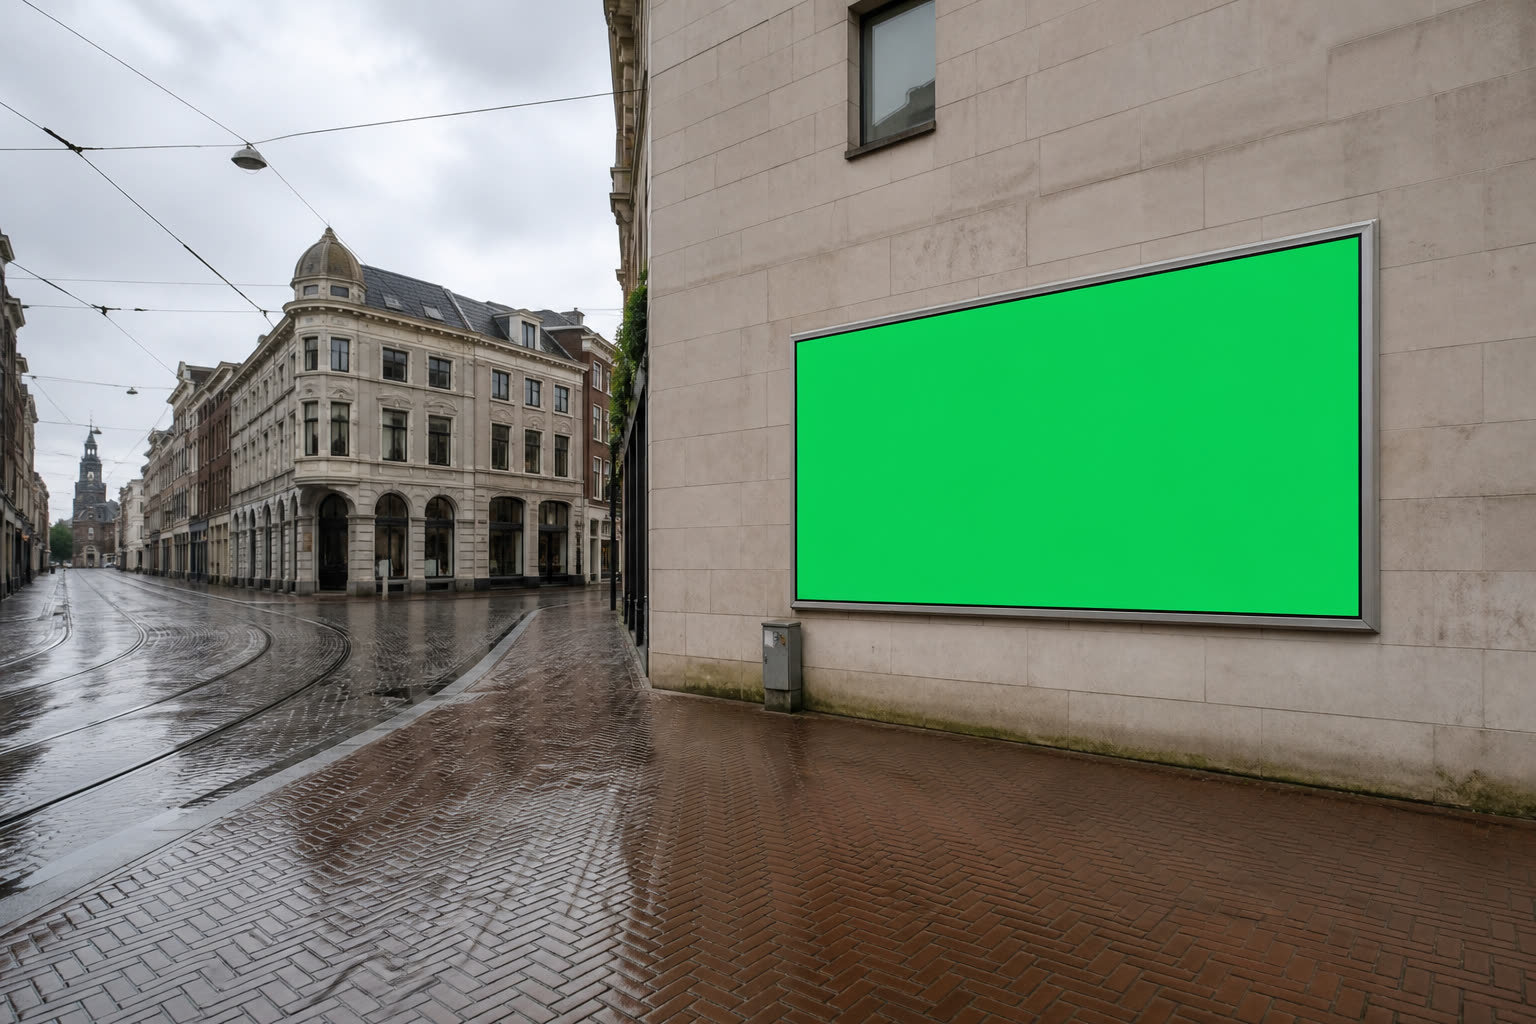
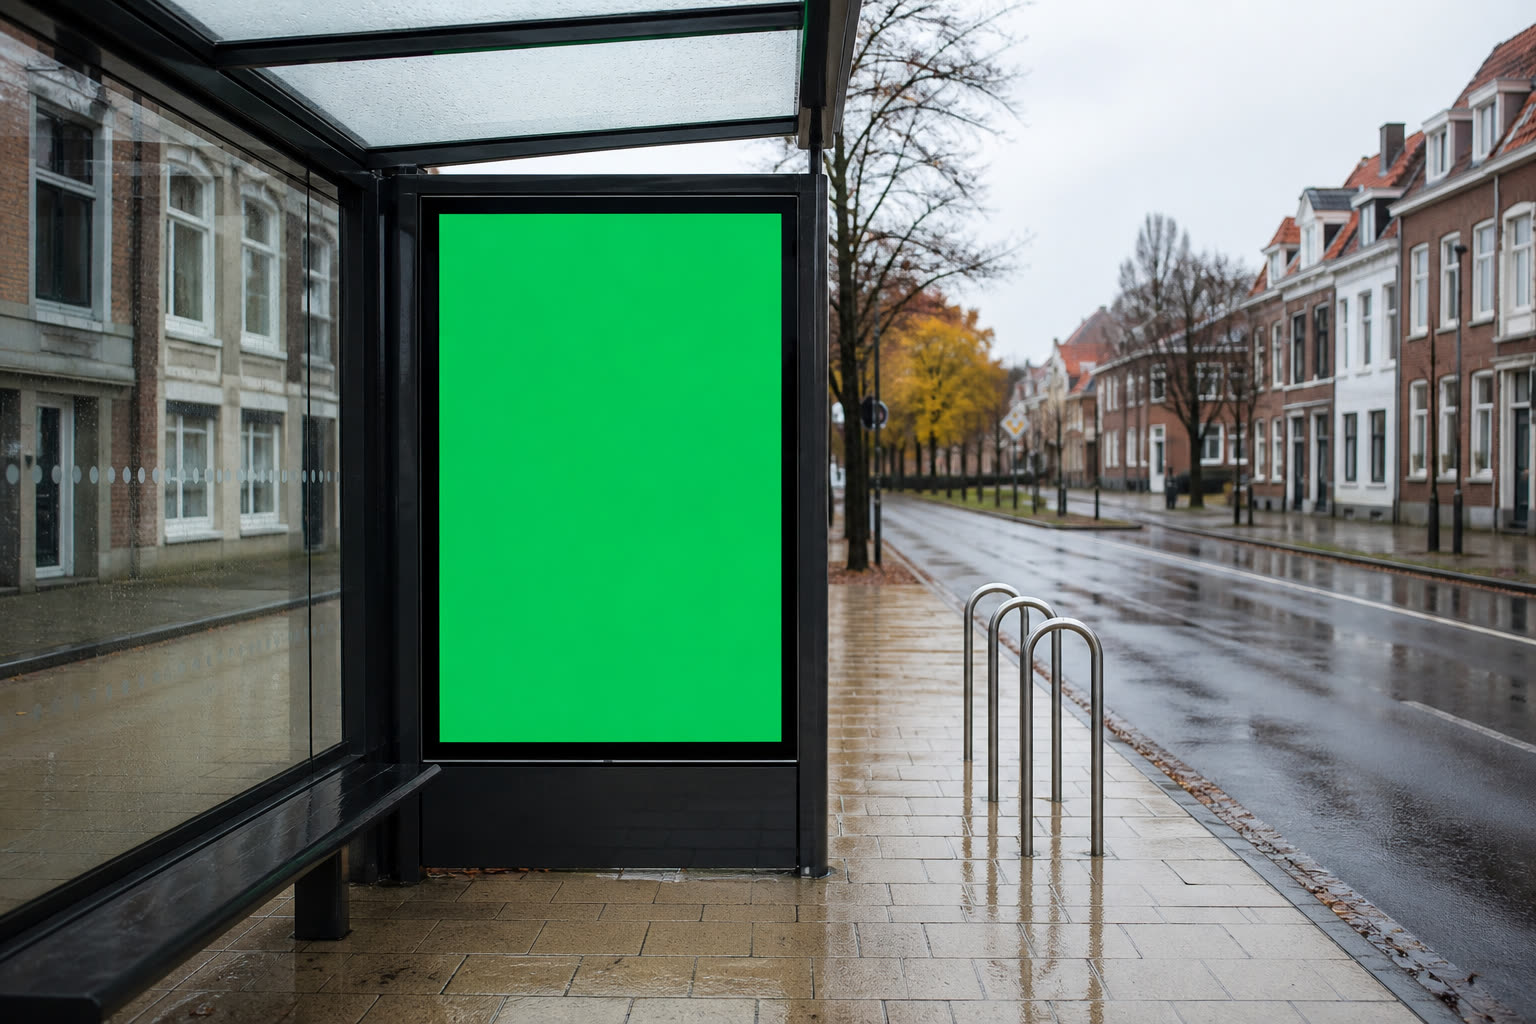
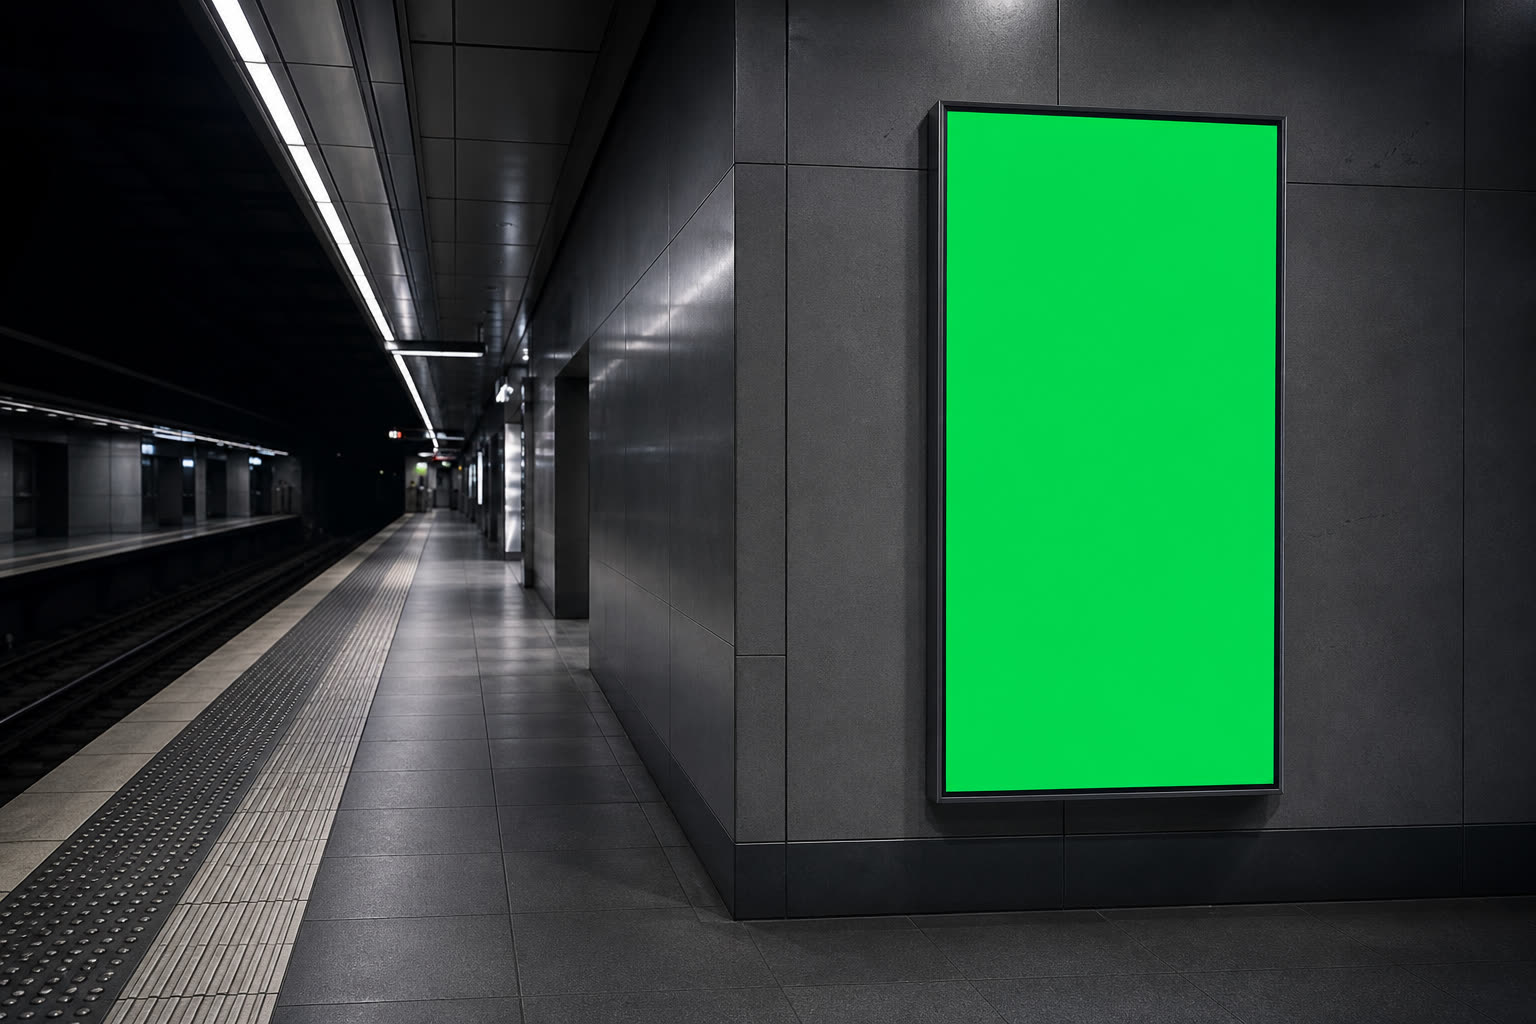
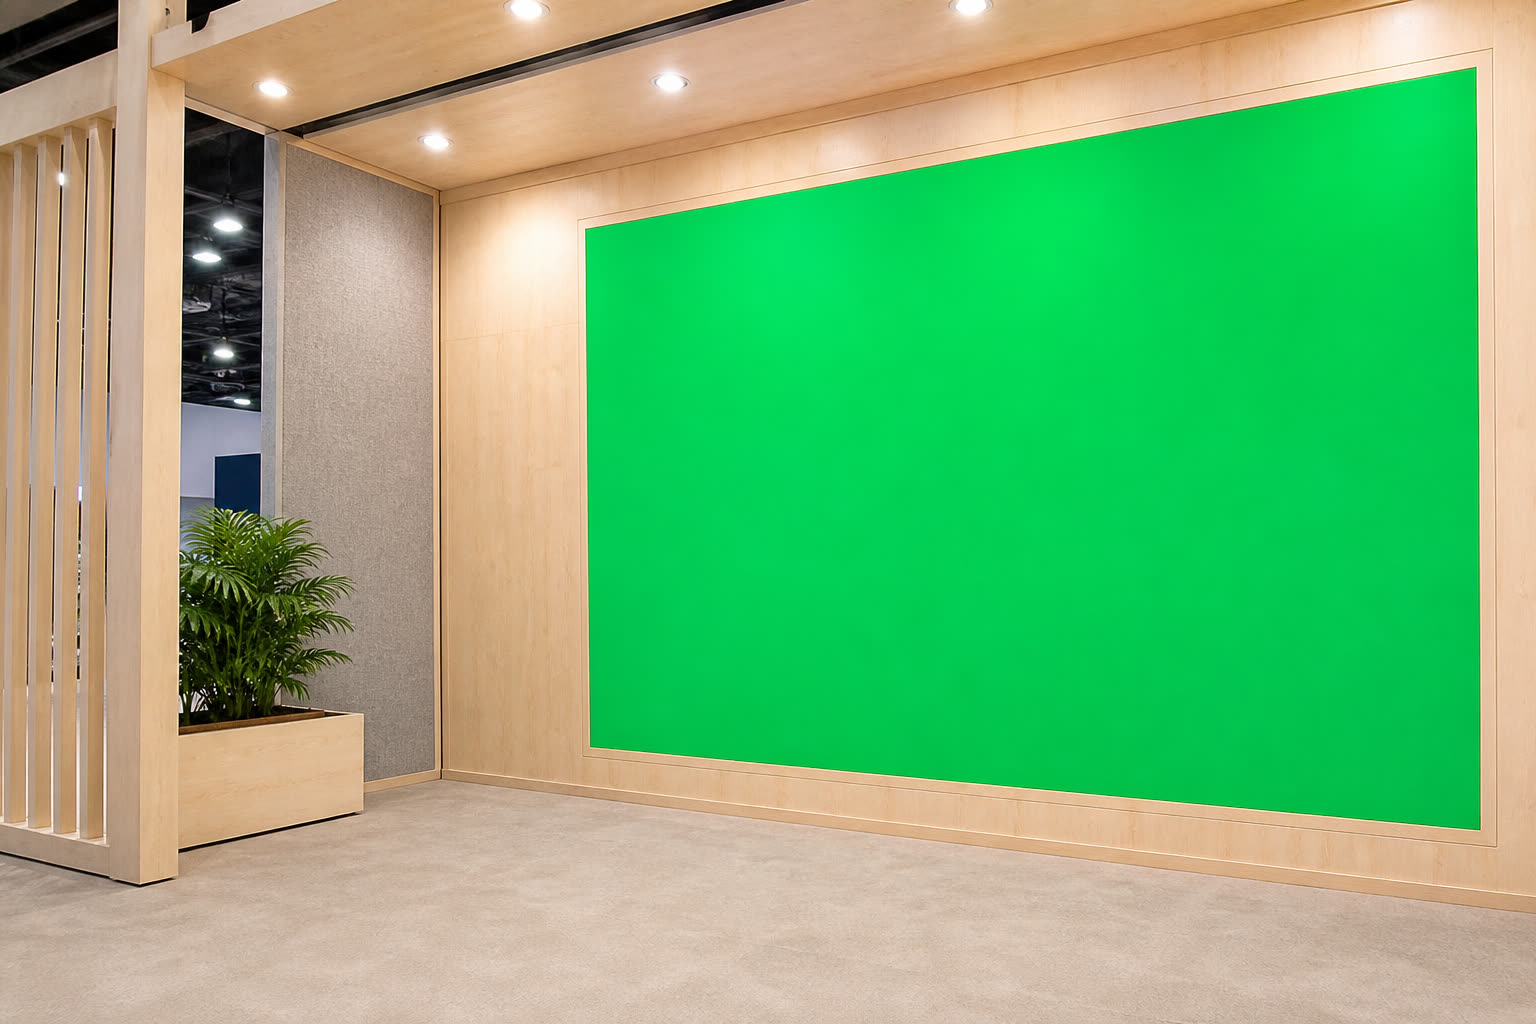
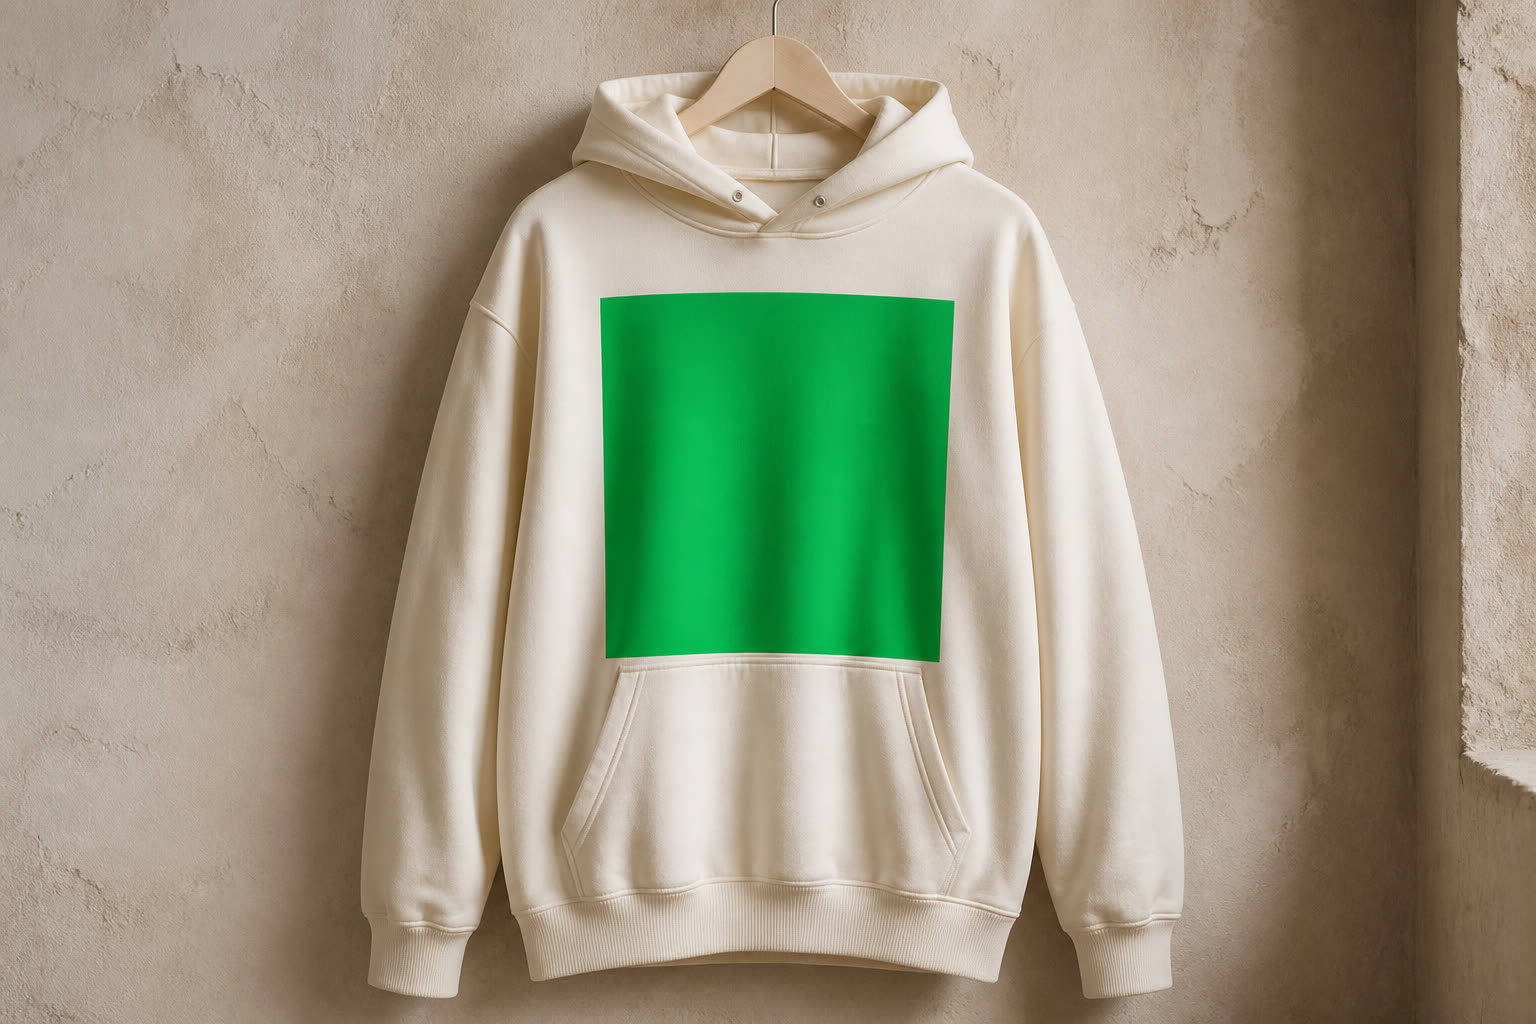
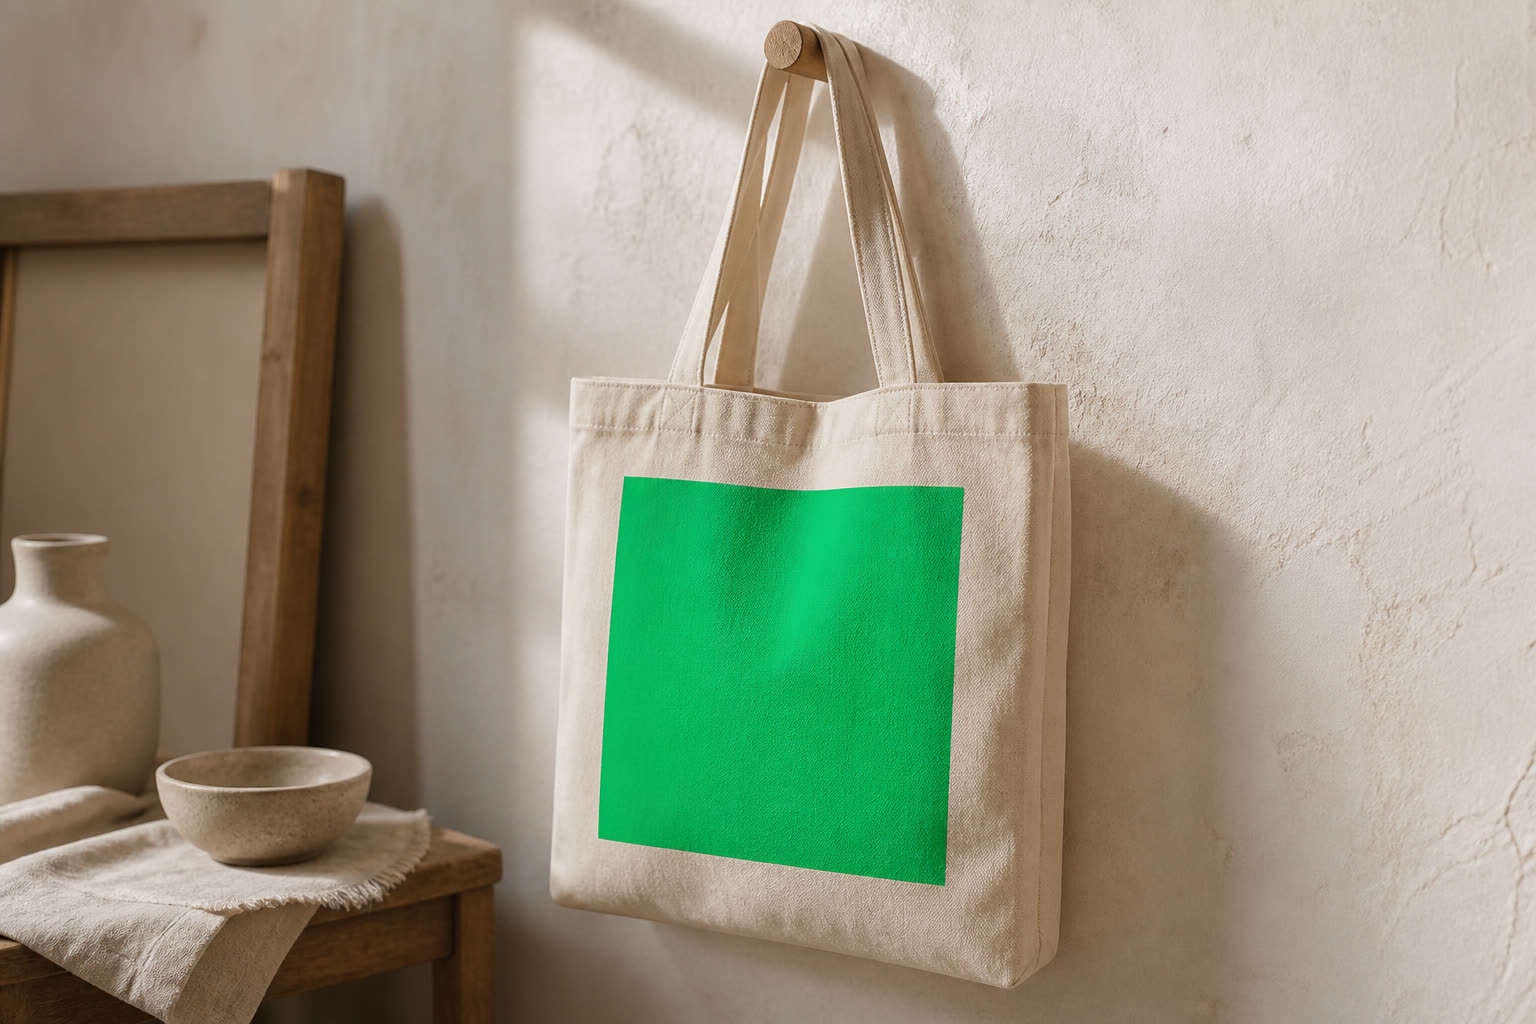
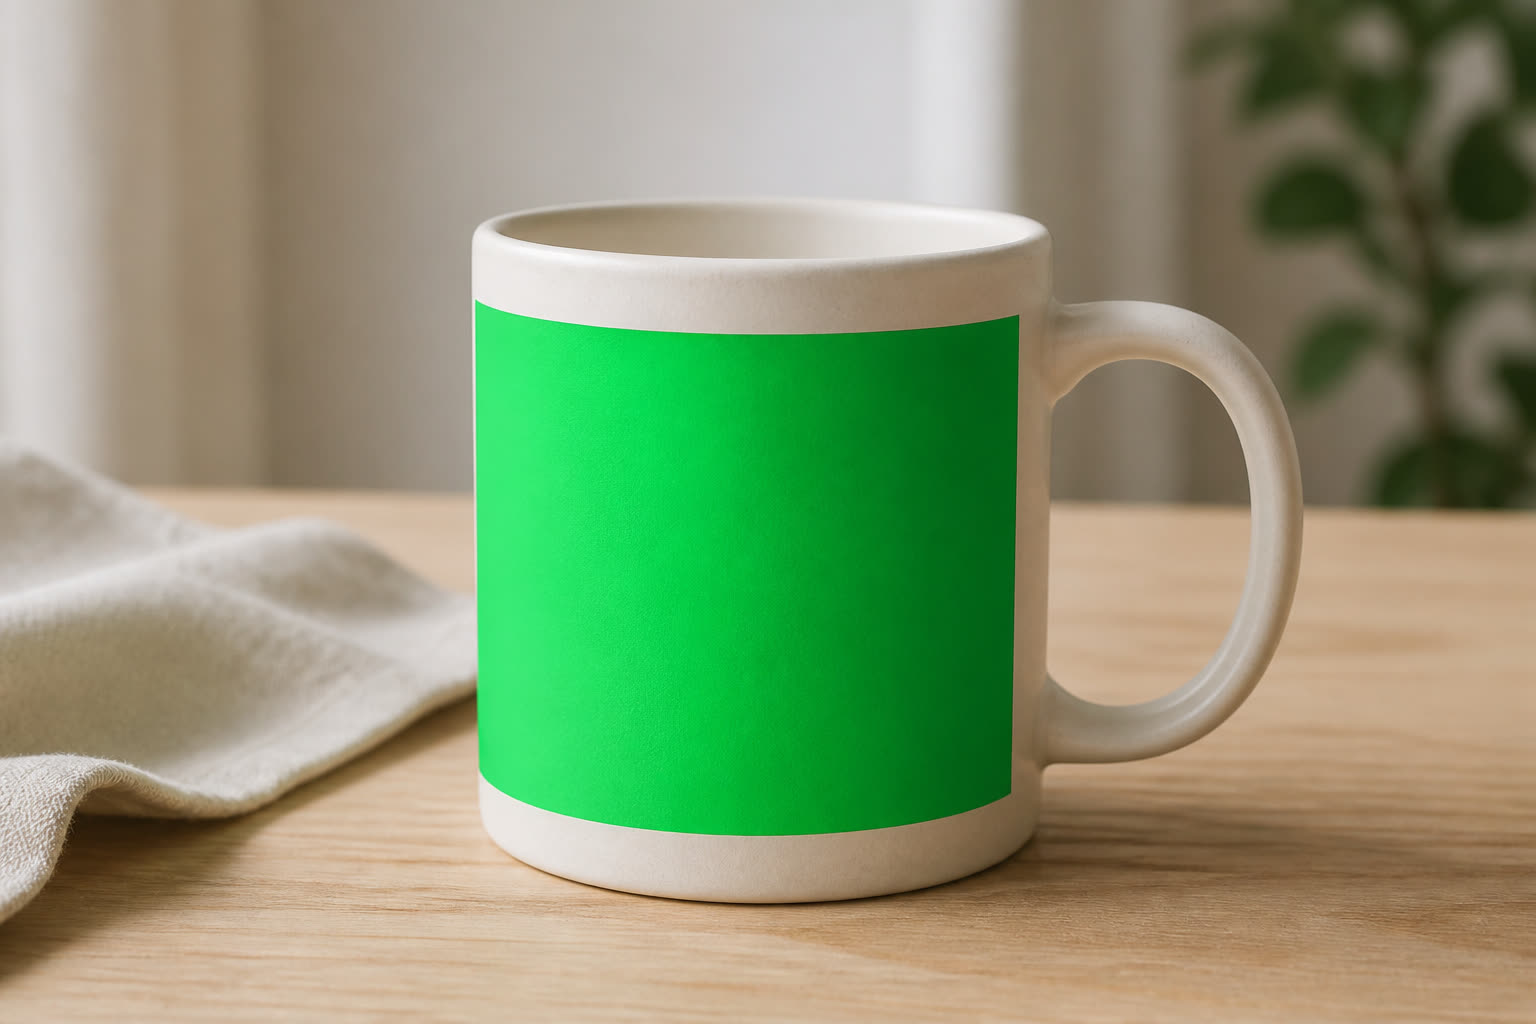
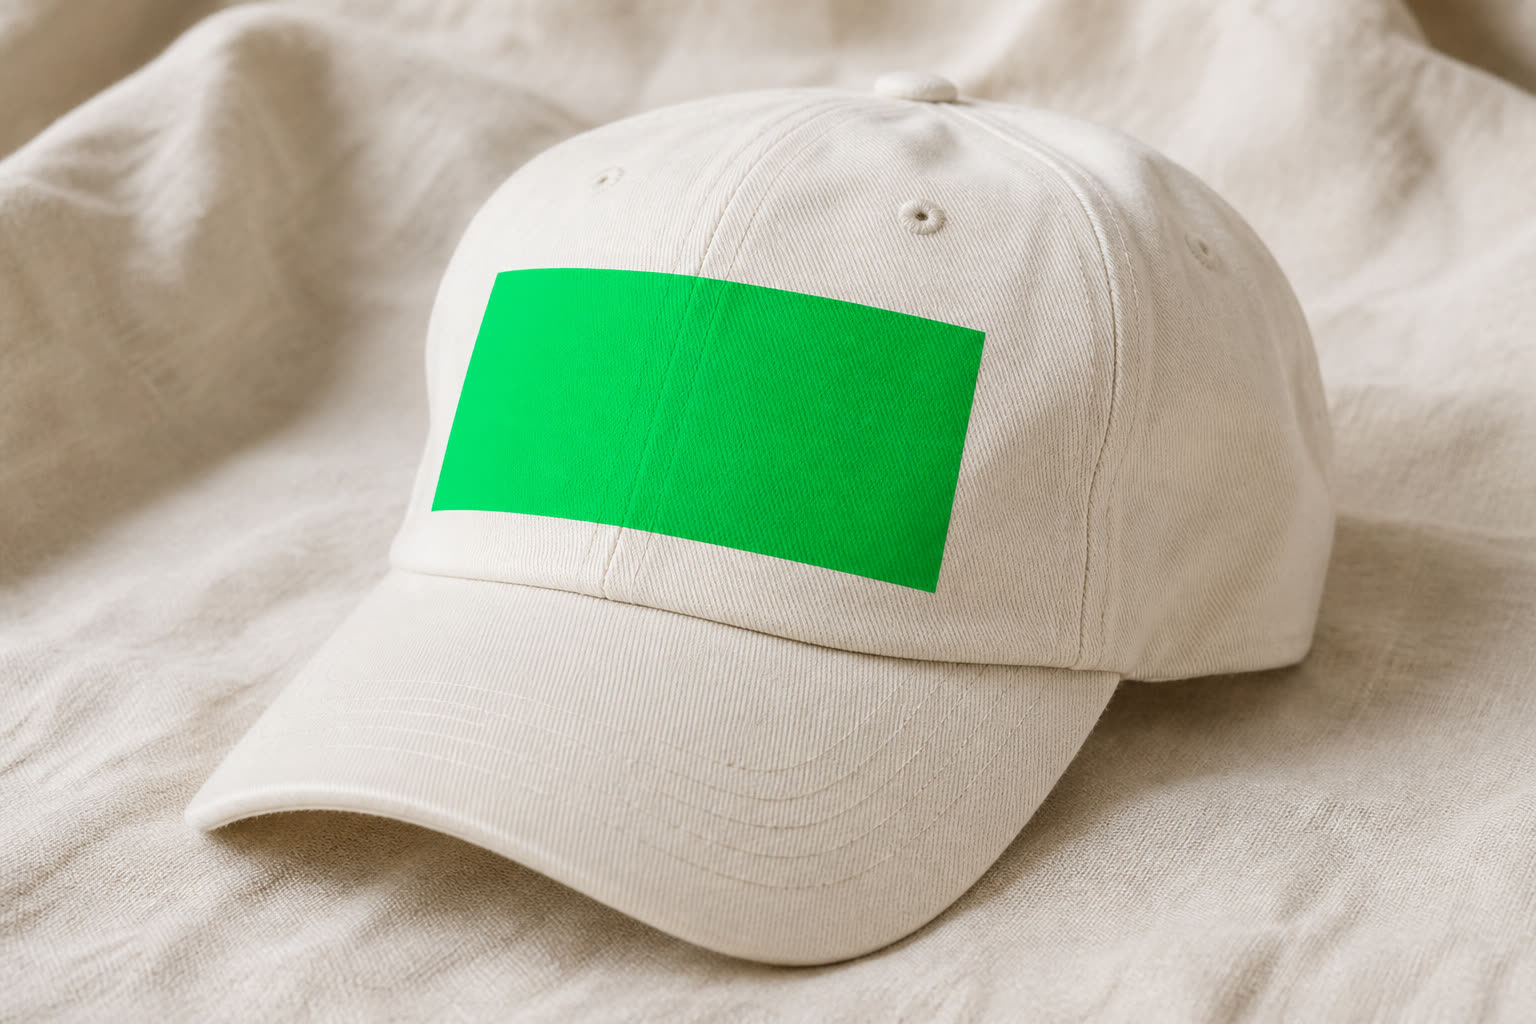
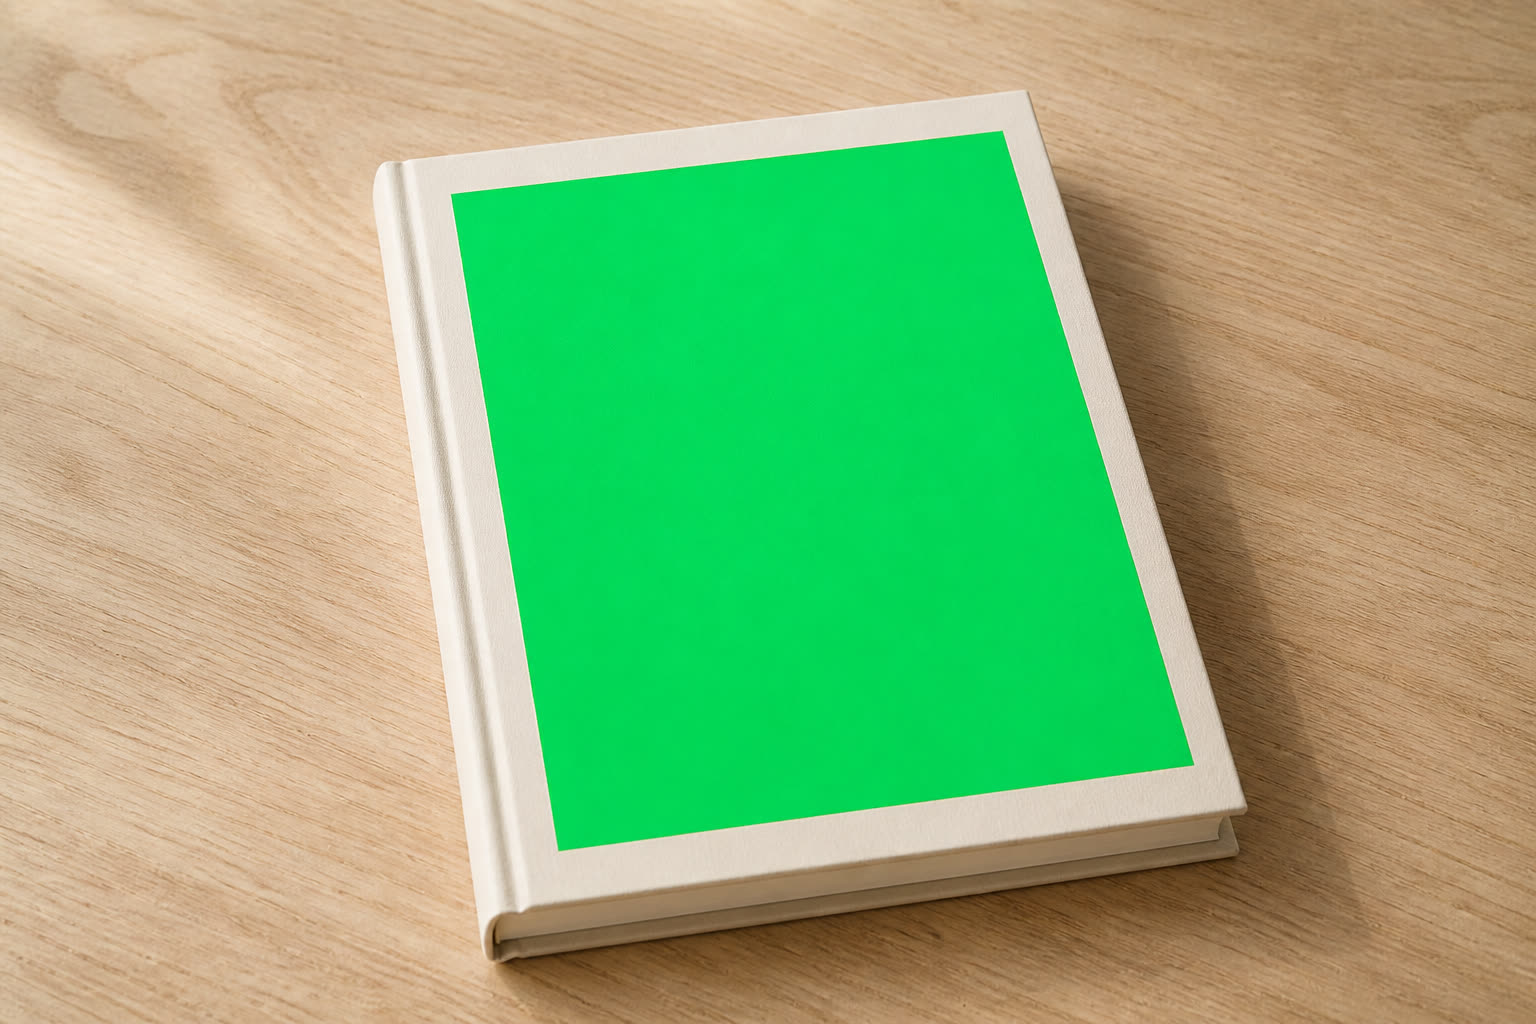
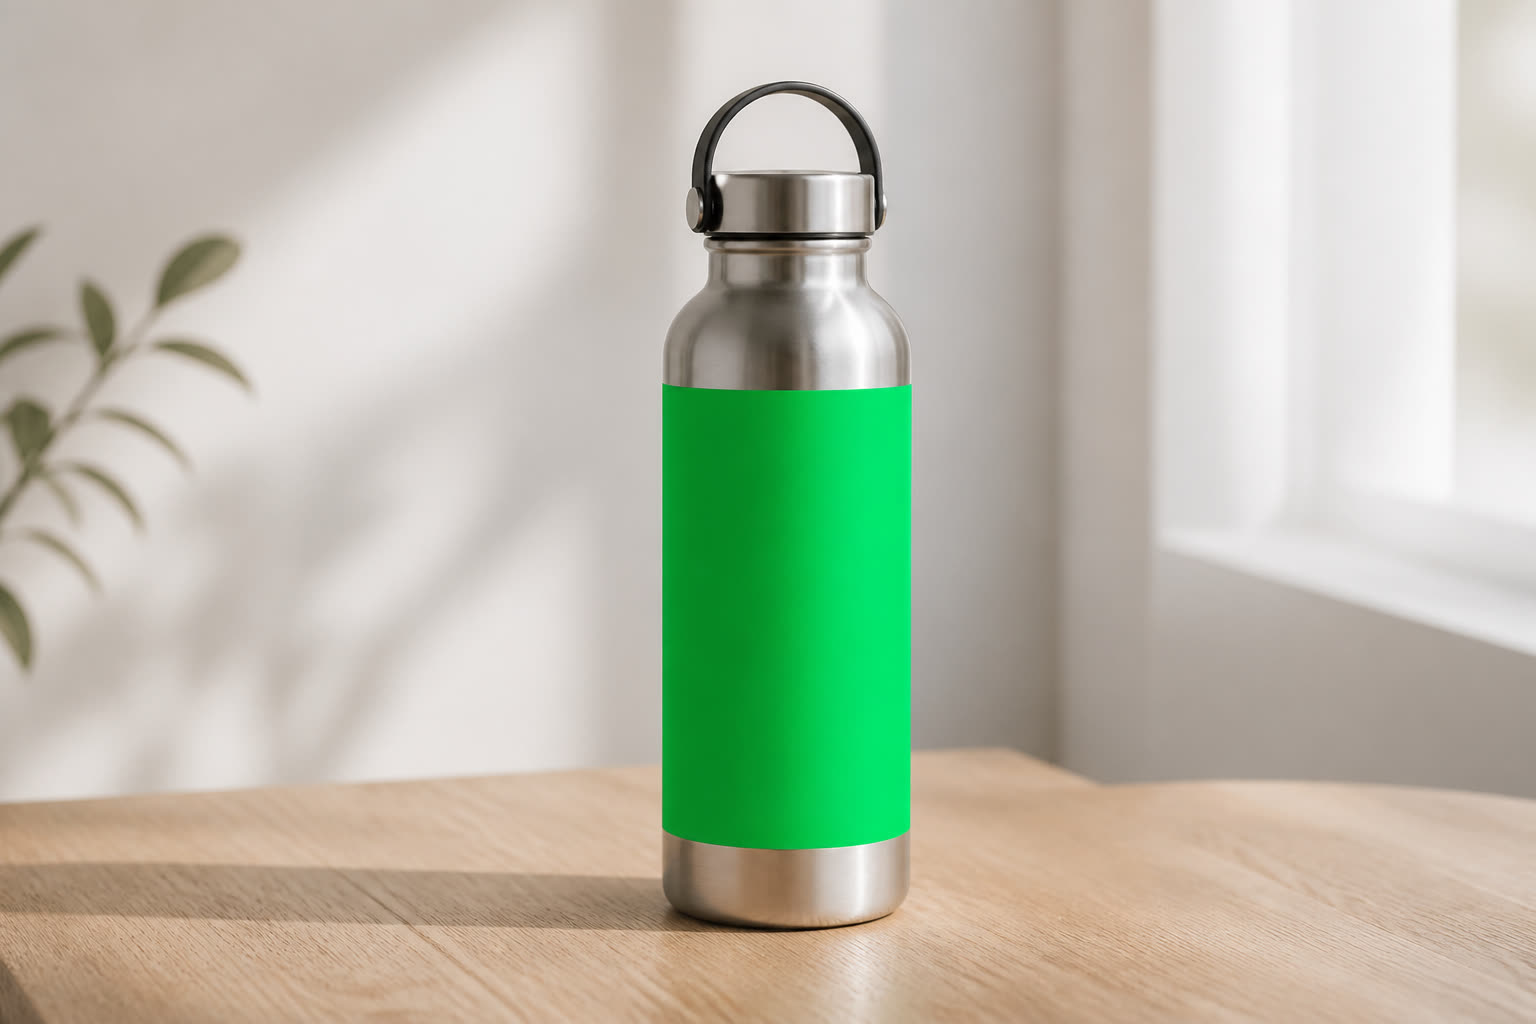
Put approved artwork into the green areas and check the light, perspective, and crop. Once the composition works, ask the supplier for the actual production specification. The mockup helps you choose; the printer still needs a separate file.
- For
- Designers preparing physical applications
- Use when
- An identity needs to work on signs, spaces or merchandise.
- Bring
- Production dimensions, materials, artwork rights and supplier requirements.
- Leave with
- Reviewed mockups and supplier-ready artwork where specifications are known.
A worked example
Fictional example
A fictional workshop needs a door sign and tote. Approve the composition in a mockup, then prepare separate vector artwork using the supplier’s print area.
Check the result
Obtain a proof and check scale, color handling and production tolerances with the supplier.
What this leaves open
A realistic mockup is not print-ready artwork. Green areas in the source are placeholders, not deliverables.
Tools, in order
Here is where each tool helps. Use an equivalent you already work with if it fits the task and your project’s access requirements.
Before the mockup
Your production supplierA versioned project folder
Get dimensions, materials, printable areas, color requirements, and a proofing plan from the supplier.
Carry forward A production brief, not just a photograph.
During exploration
Before ordering
Your production supplierA versioned project folder
Prepare the separate production artwork and request a proof. Inspect the actual size, material, and tolerances with the supplier.
Carry forward Checked artwork and an explicit proof approval.
Review the work with partners
We make and revise the work with Claude, ChatGPT, or Grok, then put selected versions on our Studio project pages for partners to review. Check the preview before sharing it. You can do the same with a private prototype or shared document; use a workspace that can access the files you need.
Name the version, say what changed, and ask the question you need answered. Keep feedback with that version and discuss conflicting requests before making the next changes. Confirm approval separately, and keep confidential work in a restricted space.
A question for this review
Is the direction right, and what still needs a physical proof before we commit?
Delegate the routine work
Name files, prepare a production checklist, or apply approved artwork to a defined set of mockups.
A realistic image cannot approve materials, manufacturing tolerances, or an order.
How to use it
- Choose the formats in your brief and check the destination requirements.
- Gather the approved copy, brand files, and licensed images. Use the production prompt as a checklist or paste it into your assistant.
- Keep editable masters in your design app. Export the files, open them, and review the actual result before publishing or sending it to a supplier.
Expected output
A page of environmentals and swag with the brand in, not the green.
Production formats
Original visual templates and mockups. Green areas mark where artwork goes; they are not finished client assets. Confirm current platform or print specifications before delivery.
Environment
Reference layouts for Environment. Select the placements you need and confirm their current requirements before export.
Swag
Reference layouts for Swag. Select the placements you need and confirm their current requirements before export.
Plan and produce the selected assets
Copy this into your preferred assistant with the approved brief, or use it as a checklist in your design app. Choose only the formats you need. It does not create files until you run it in a tool that can do so.
Prepare environmental and swag for the project below.

Project: [name]
Audience and purpose: [who this is for, and what they should understand or do]
Approved brand reference: [logo files, colors, fonts, voice and examples]
Approved copy: [text, claims and links]
Selected formats: [choose from the reference list below]
Current specifications: [platform or print supplier's dated requirements]
Working app: [your design, image-editing or document app]
Output folder: [a folder you can access]
Reviewer: [name]

First list the source files, required formats and missing inputs. Do not invent approvals, claims or specifications. The reference dimensions are planning examples; resolve conflicts against the current destination requirements before producing anything.

Build an editable master for each selected format. Place approved artwork in the intended live area, keep essential content clear of crop and interface overlays, and use licensed fonts and images. For photo mockups, match perspective and light; do not mistake a mockup for a print-ready production file. Ask the supplier for bleed, color profile, resolution and finishing requirements.

Export only the agreed files into the chosen folder. If your tool cannot create or export a file, say so and provide the exact manual steps; do not claim that it exists.

Review each export at its intended viewing size. Check spelling, crop, readability, dimensions, brand consistency, rights and file names. Record unresolved issues and ask the reviewer to approve the set before publishing or sending it to a supplier.

Return a manifest: filename | format | dimensions | editable source | review status. Include a short note explaining how to edit and re-export the work.

Reference formats:
- Environment: Office door, Vinyl
- Environment: Lobby screen, Landscape display
- Environment: Billboard, Out of home
- Environment: Bus stop, Abri
- Environment: Subway, Platform poster
- Environment: Conference, Booth wall
- Swag: Hoodie, Chest print
- Swag: Tote, Front panel
- Swag: Mug, Wrap
- Swag: Cap, Front panel
- Swag: Notebook, Cover
- Swag: Bottle, Wrap
- Swag: Sticker sheet, Kiss-cut
Leave the next person enough to work with
Write down what was decided and why, with links to the notes or examples behind it. Keep the open questions alongside the decisions. Someone joining the project should be able to tell which is which without asking you.
Project: [name]
Input sources: [references and permission]
Approved decisions: [choice, rationale, owner]
Assumptions: [what remains untested]
Open questions: [question, owner, due date]
Acceptance checks: [observable pass/fail criteria]
Next step: [person or workflow]
Approval: [name, date, version]
Before you move on
- Can someone who was not in the room understand the result?
- Are claims supported by evidence, with uncertainty labeled?
- Has the responsible person approved the decisions—not just received the document?
- Have you removed private information and checked rights to any assets?
If the summary says something was agreed and you cannot find that agreement in the notes, ask the person who decides before carrying it into the next task.